Quickstart
This guide will help you set up Verbels, process your first meeting, and check the tasks it finds.
Before you begin
You need a Verbels account and one way to bring a meeting into Verbels. You can use:
- A meeting on a Google or Outlook calendar
- A link to an external meeting
- A transcript from a meeting that already happened
You do not need all three options. You can paste a meeting link or upload a transcript without connecting a calendar first.
1. Finish setting up your account
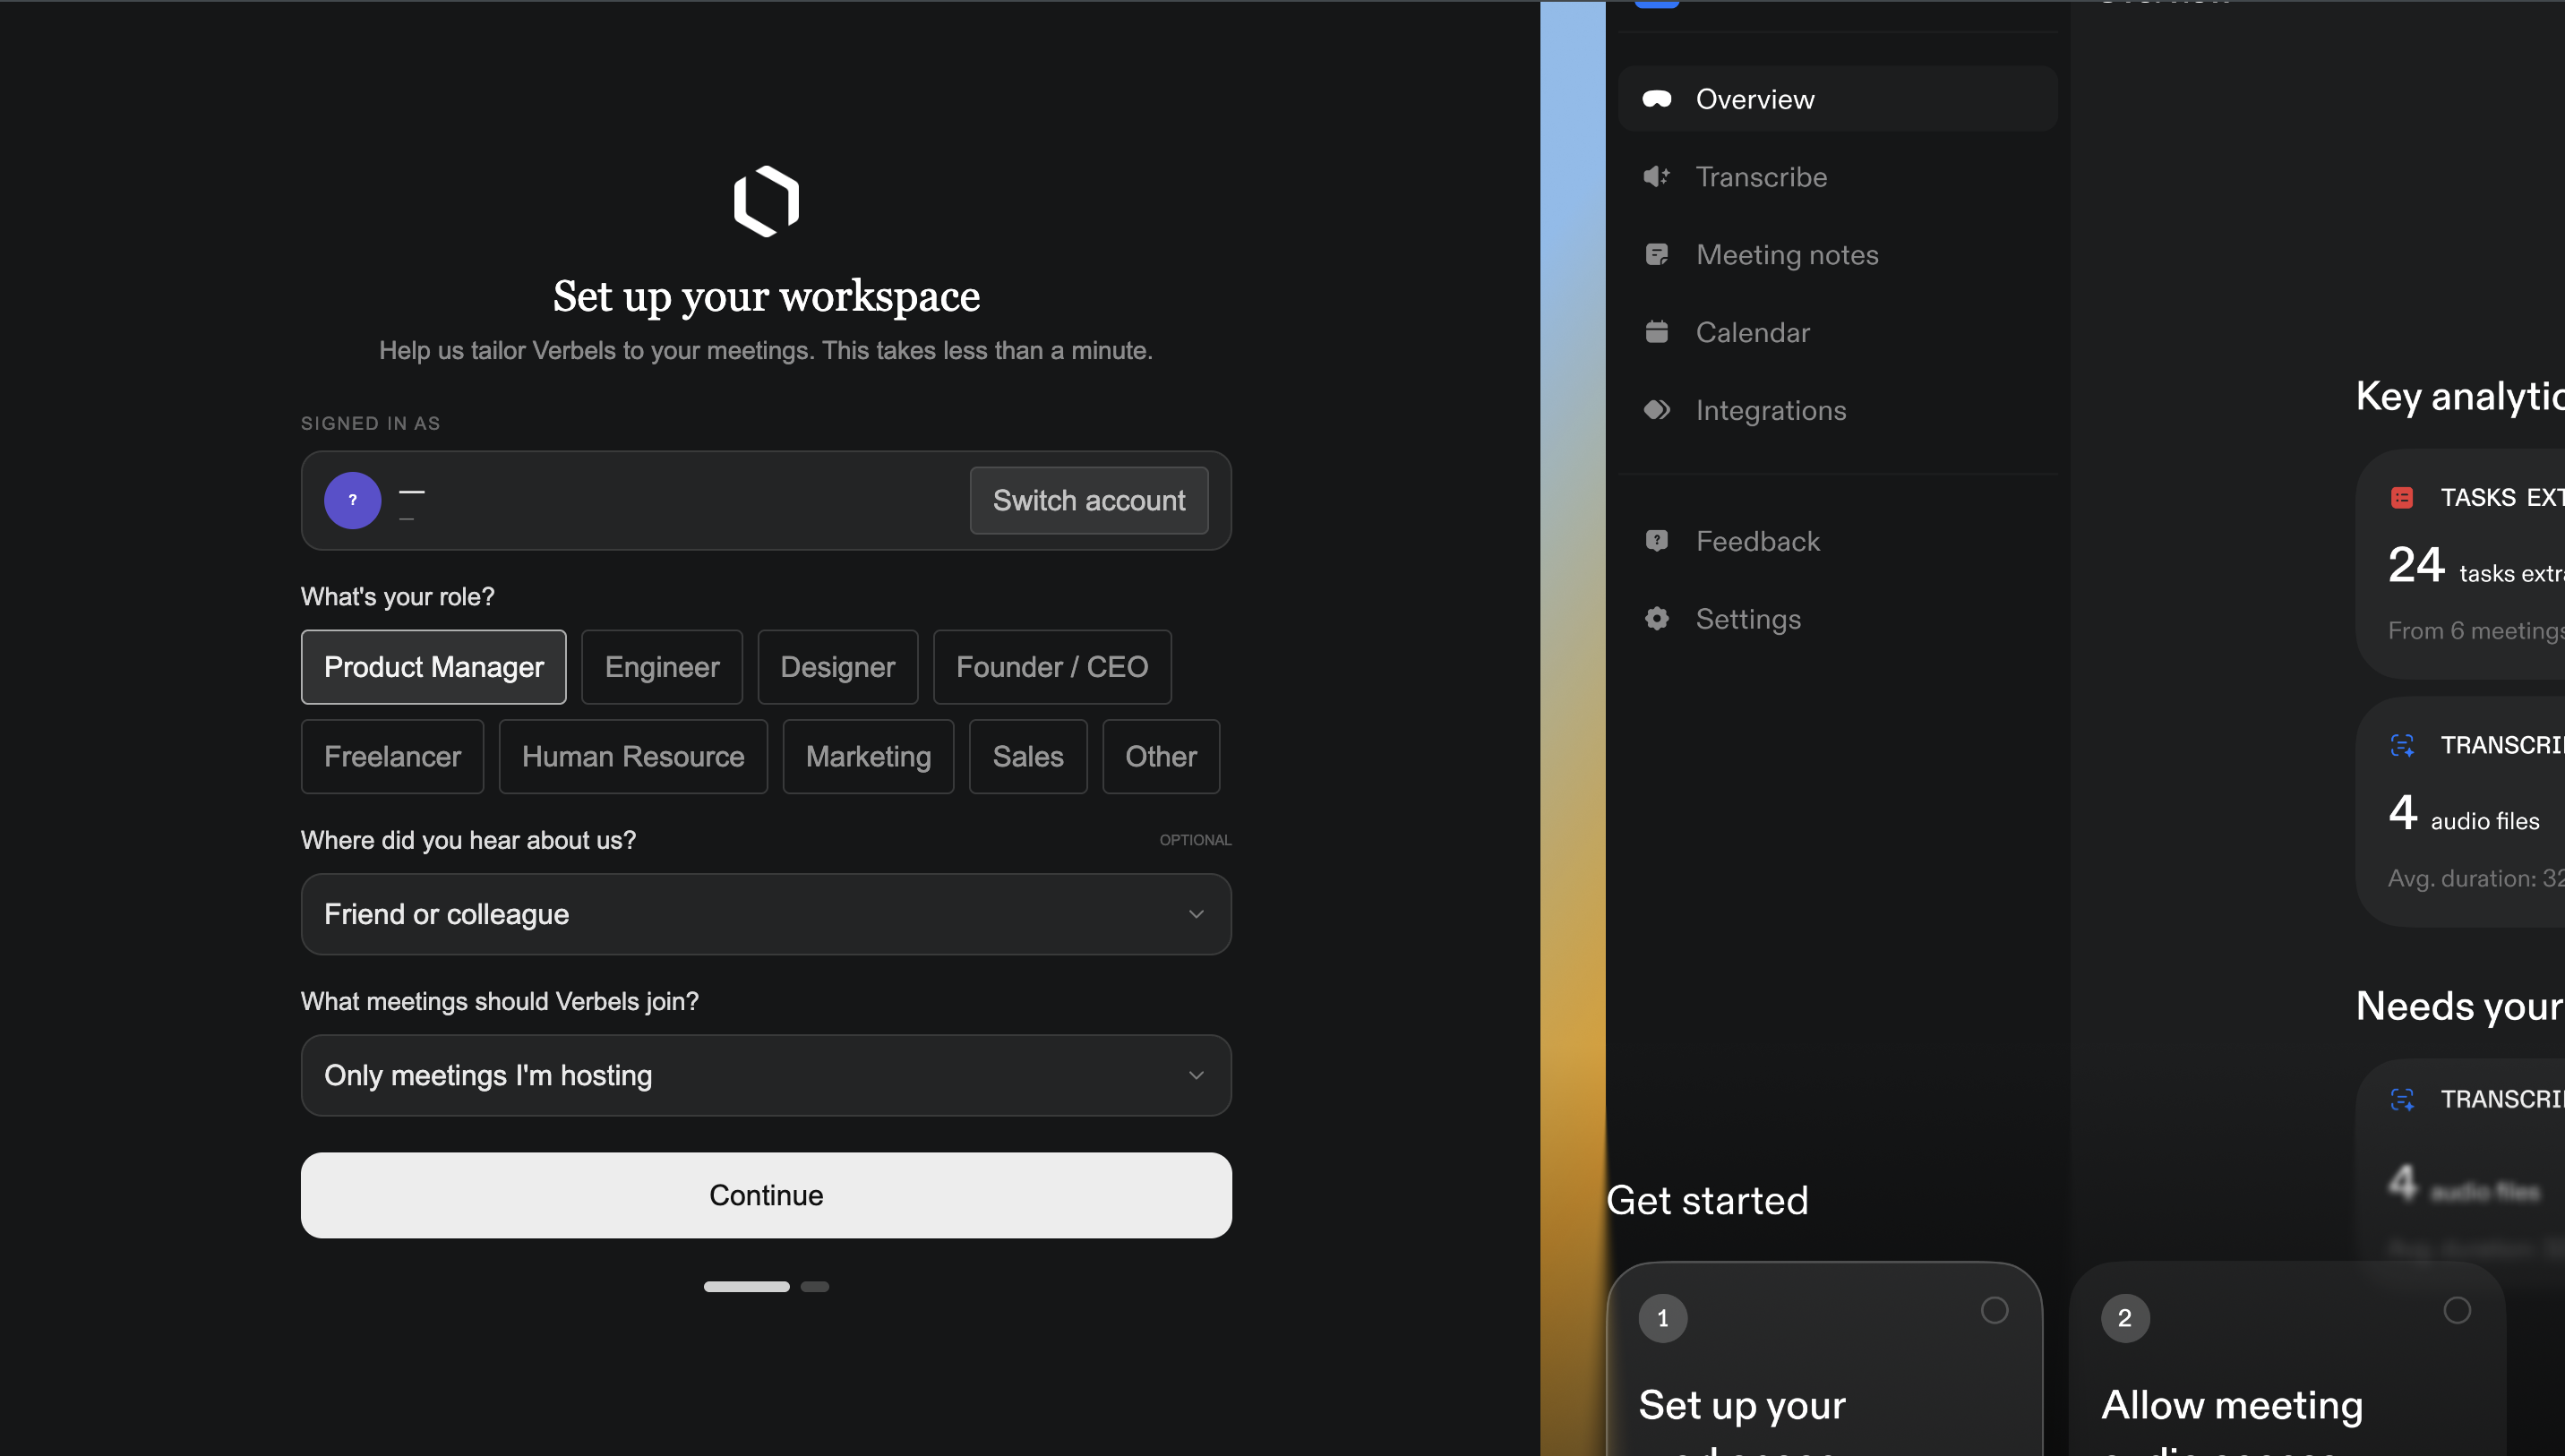
Create your Verbels account and sign in with Google. During setup, Verbels will ask you to:
- Choose your role.
- Choose which meetings Verbels should join.
- Allow access to meeting audio.
You can change your meeting preference later from Settings.
2. Add your first meeting
Choose the option that fits your meeting.
Use your calendar
Choose this when the meeting is already on your Google or Outlook calendar.
Connect a calendar →Paste a meeting link
Choose this when you have a Zoom, Microsoft Teams, or Google Meet link that is not on your calendar.
Add an external meeting →Upload a transcript
Choose this when the meeting has already happened and you have its transcript.
Upload a transcript →After you add your meeting, Verbels will process it. The time this takes depends on the length of the meeting. You can leave the page and come back while Verbels works on it.
3. Open and review the meeting
- Open Meetings.
- Find the meeting you added.
- Open the options menu at the end of the meeting row.
- Select View meeting.
On the meeting page, check each tab:
- Summary for a shorter version of the conversation.
- Transcript to check what someone said or get more context.
- Tasks to see the actions Verbels found.
Make sure the summary and tasks match what was discussed before moving on.
Learn more about the meeting page.
4. Check the task details
Read each task before you use it. Check the task name, assignees, due date, and confidence score. Edit any task that needs a correction and delete any task you do not need.
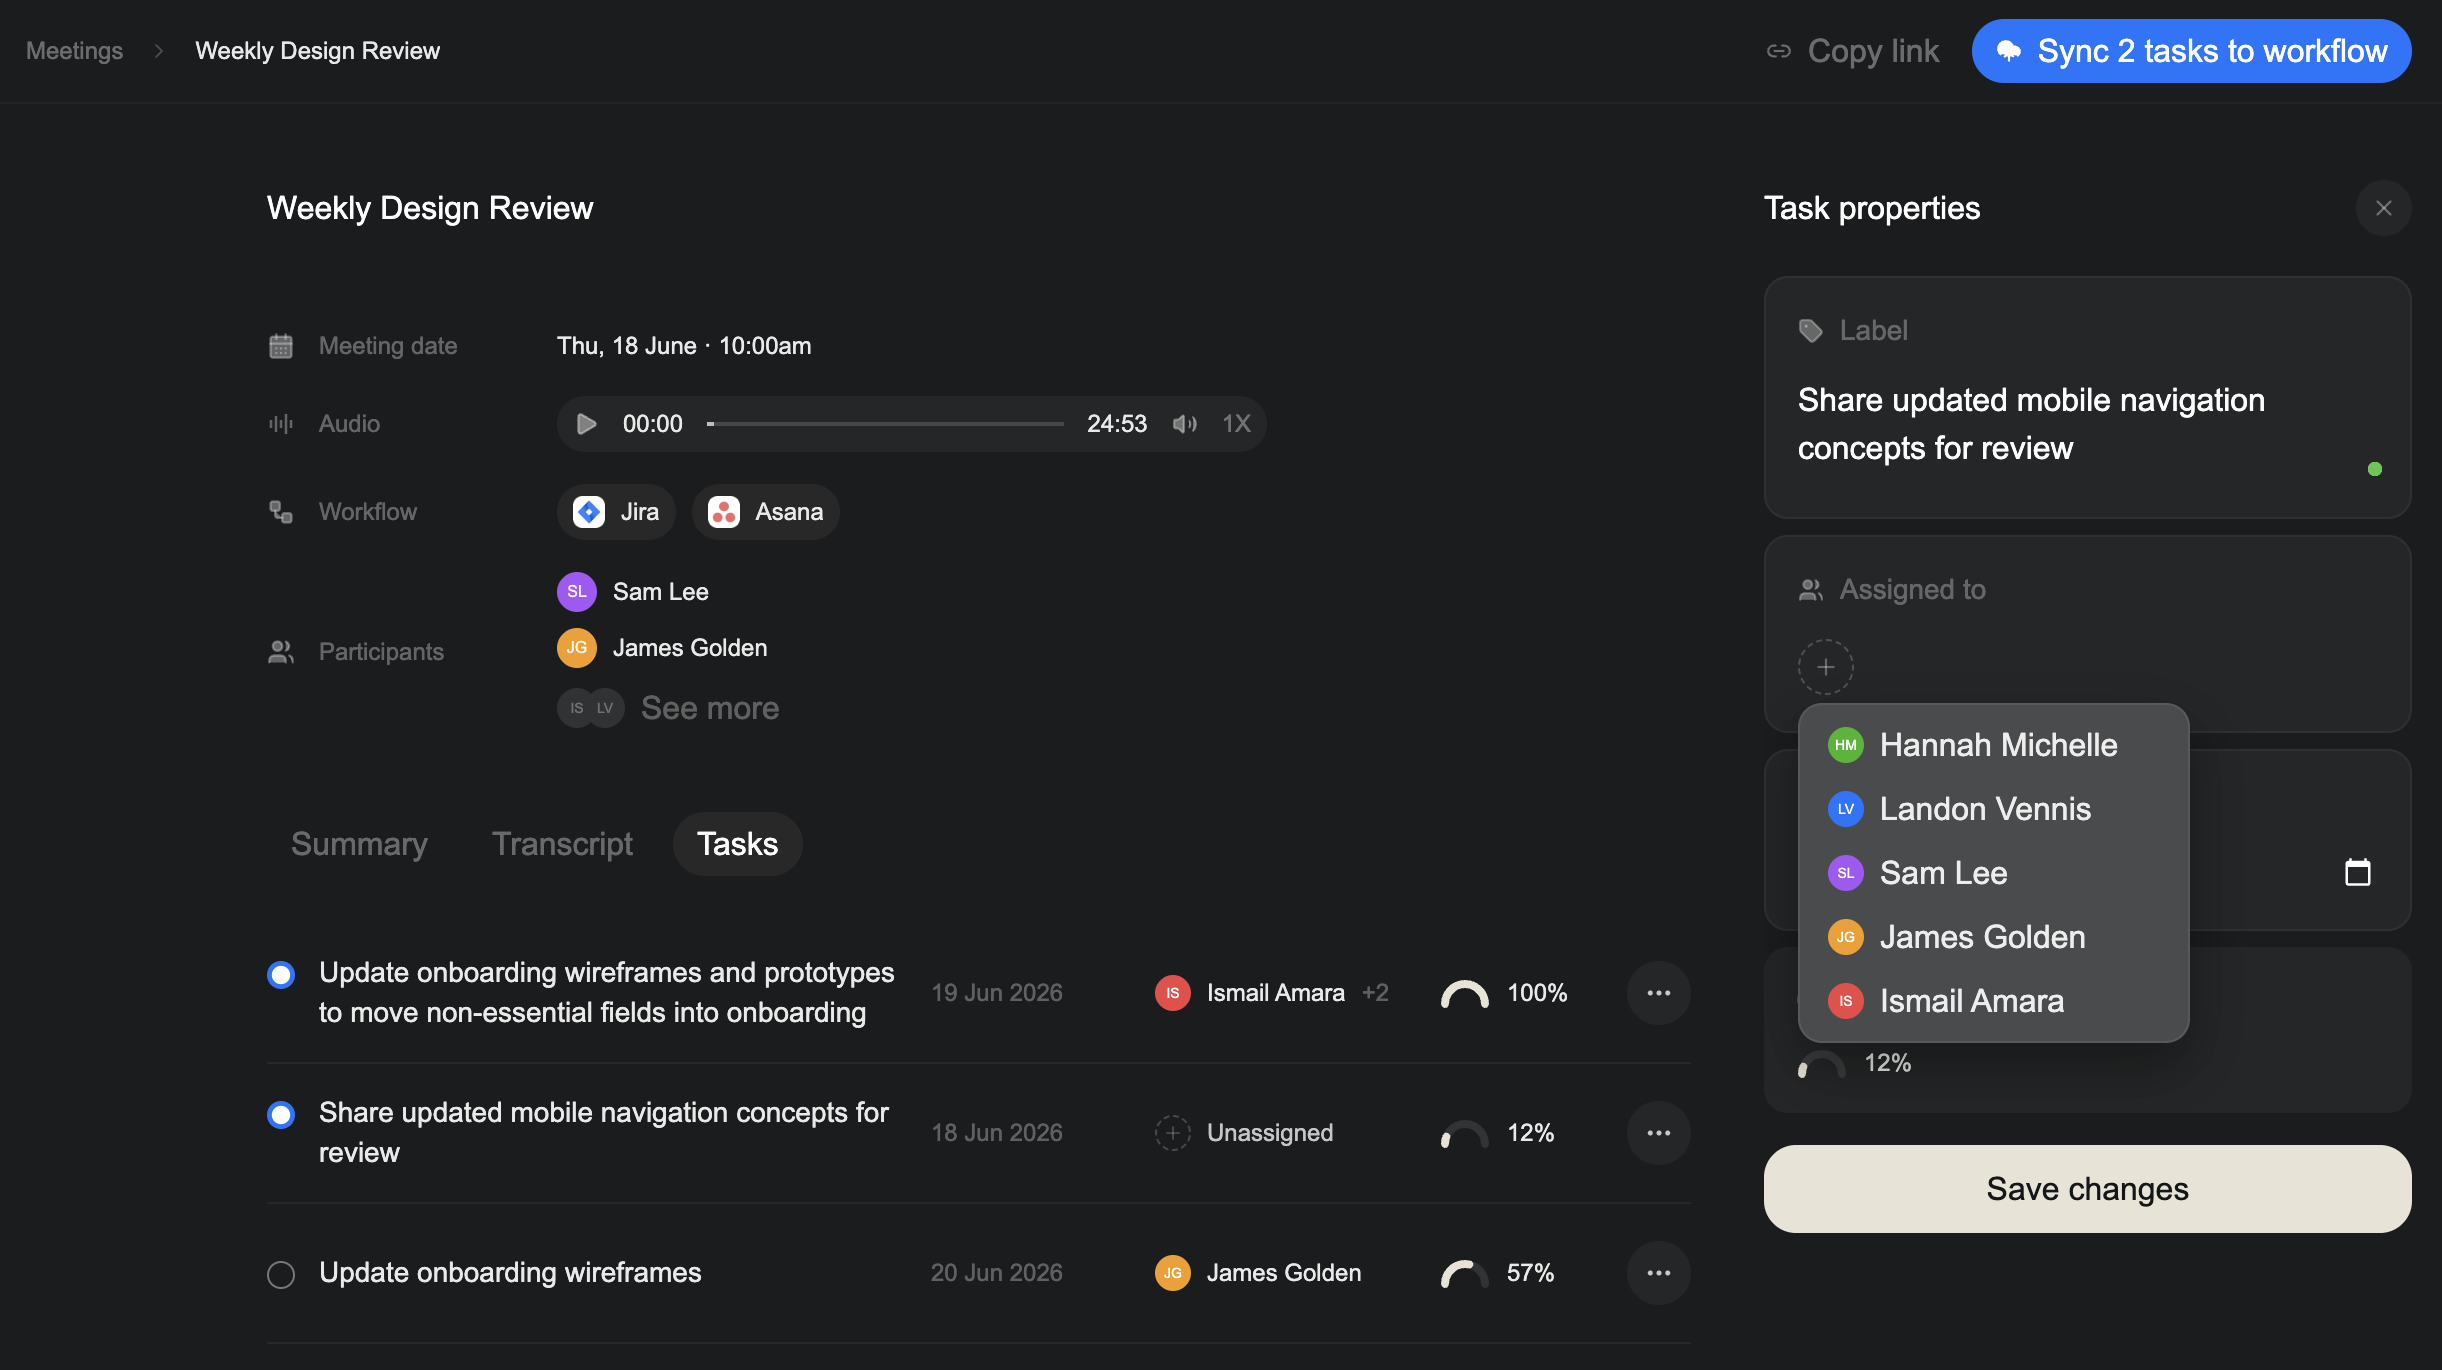
Learn how to create and edit tasks.
5. Optional: send tasks to Jira or Asana
You can stop after reviewing the tasks. If you have connected Jira or Asana, you can also send selected tasks to your workflow.
- Select one or more tasks.
- Select Sync tasks to workflow.
- Choose Jira or Asana.
- Choose the workspace, project, and section.
- Select Create tasks.
If you have not connected a workflow tool yet, start with Integrations.
You're ready
You have processed your first meeting and checked the tasks Verbels found.
Next, you can: